


A Quick Guide to Cleaning the Inside of Your Oven
Introduction:
Cleaning the inside of your oven may seem like a daunting task, but with the right approach and a little bit of elbow grease, you can have your oven looking sparkling clean in no time. In this blog post, we will walk you through a step-by-step guide on how to effectively clean the inside of your oven, ensuring it remains in top-notch condition for all your culinary adventures.
Step 1: Gather Your Supplies:
Before diving into the cleaning process, make sure you have all the necessary supplies on hand. You will need:
- Oven cleaner- Choose a cleaner that is specifically designed for ovens and follow the instructions on the label.
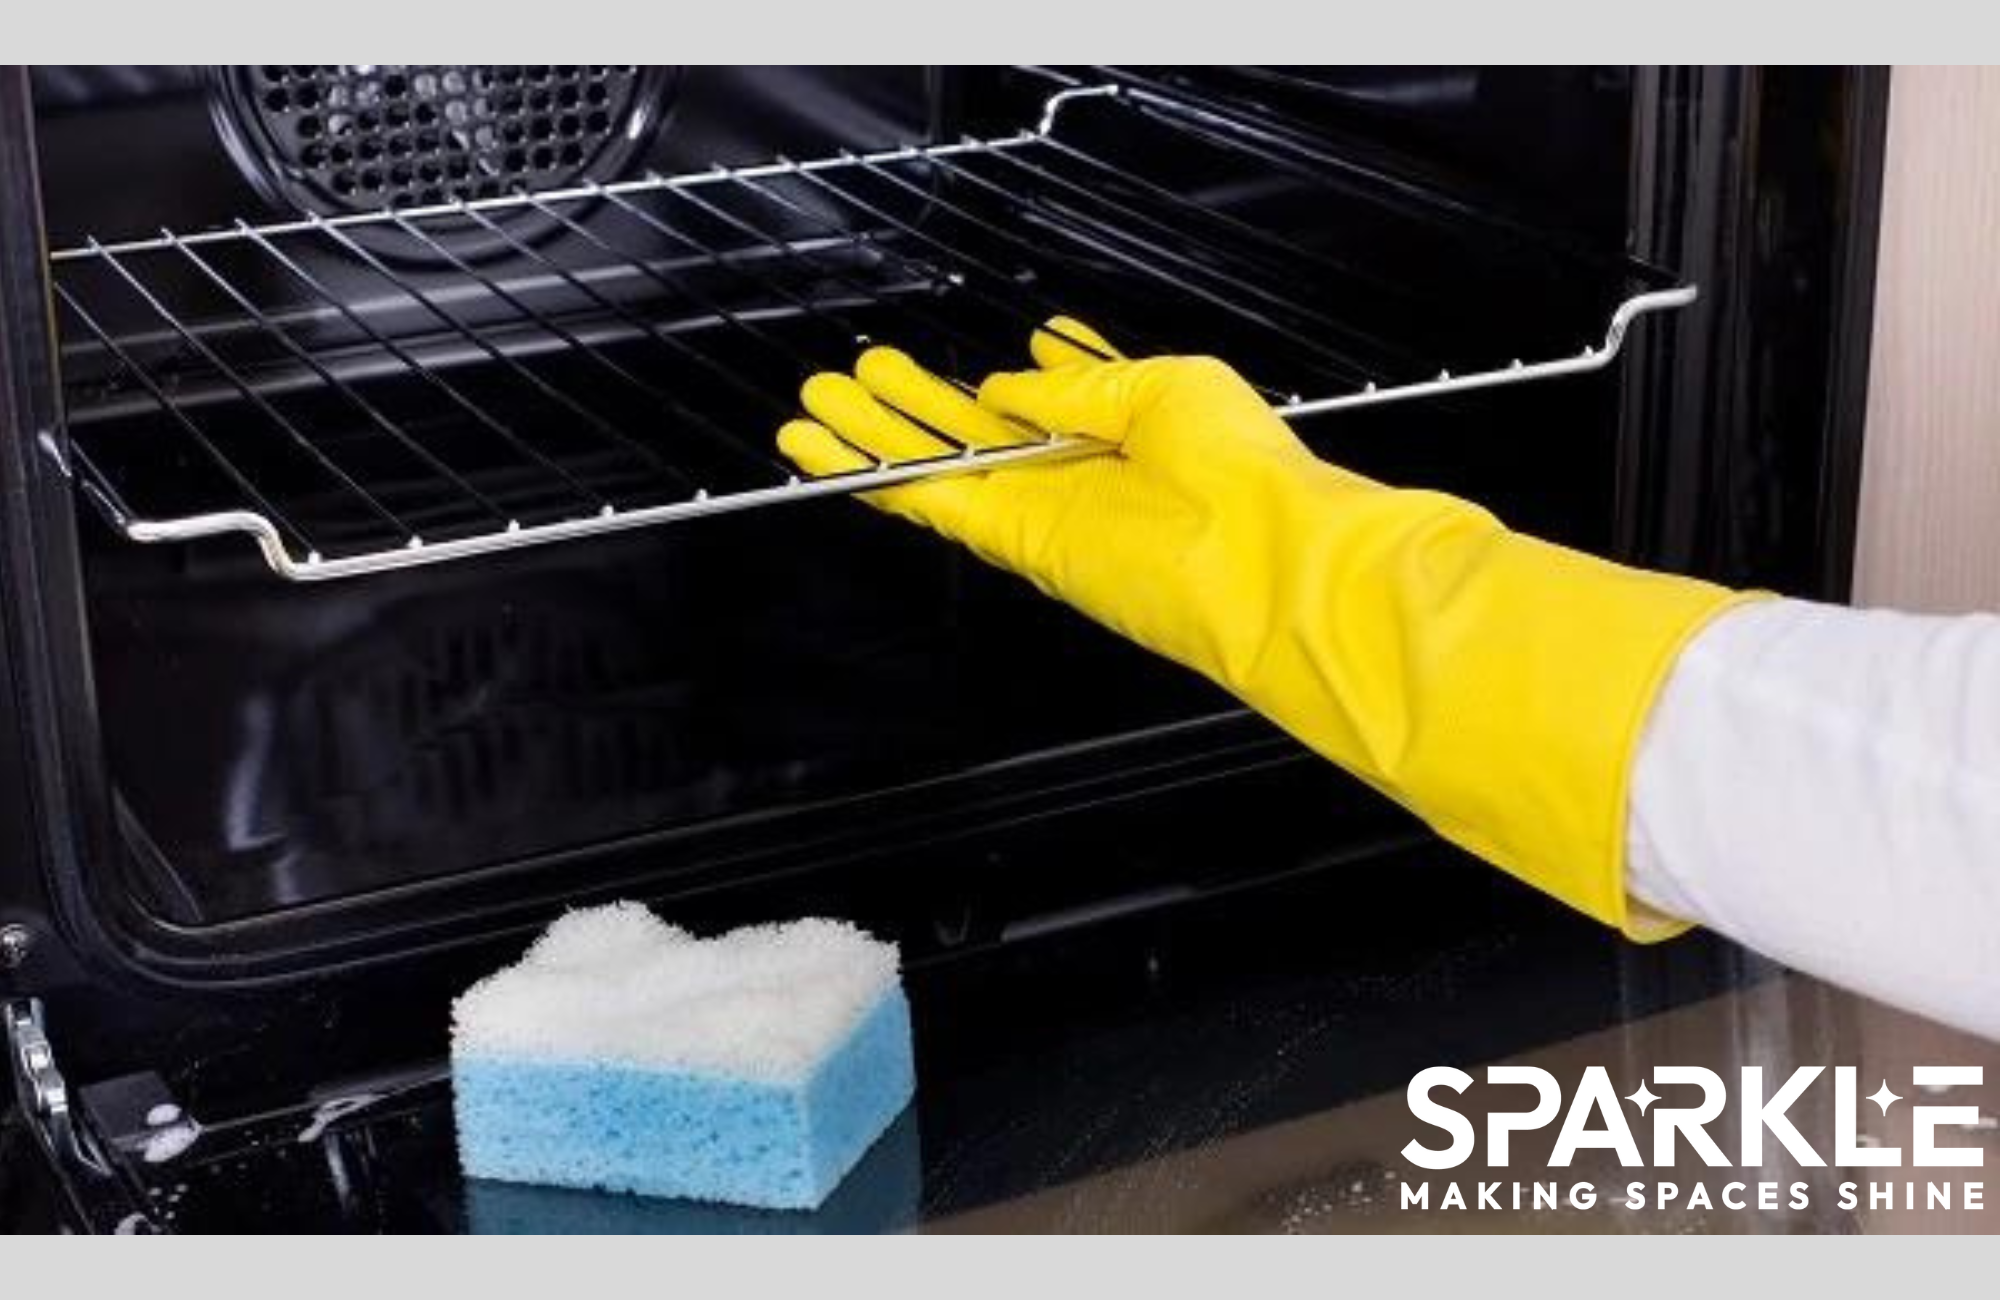
- Rubber gloves- Protect your hands from harsh chemicals by wearing rubber gloves.
- Scrub brush or sponge- Use a non-abrasive scrub brush or sponge to avoid scratching the oven's interior.
- Baking soda- This natural cleaning agent will help tackle stubborn stains and odors.
- Vinegar- Vinegar is a great natural cleaner that can help remove grease and grime.
Step 2: Remove Oven Racks
Start by removing the oven racks and set them aside. These can be cleaned separately using warm, soapy water or a dishwasher if they are dishwasher-safe. Let them dry completely before placing them back in the oven.
Step 3: Preparing the Oven Cleaner
Follow the instructions on the oven cleaner bottle to prepare the solution. Some cleaners may require you to heat the oven for a few minutes before applying the solution, while others can be applied directly to a cold oven. Make sure to read and follow the instructions carefully.
Step 4: Apply the Oven Cleaner
Using a sponge or brush, apply the oven cleaner to the interior surfaces of the oven, focusing on areas with built-up grease and grime. Be sure to cover all surfaces, including the walls, ceiling, and floor of the oven. Allow the cleaner to sit for the recommended amount of time, as specified on the product label.
Step 5: Scrub and Wipe
After the cleaner has had time to work its magic, use a scrub brush or sponge to gently scrub away the loosened dirt and grime. Pay extra attention to stubborn stains or baked-on residue. For tough stains, you can create a paste using baking soda and water and apply it to the affected areas. Let it sit for a few minutes before scrubbing.
Step 6: Rinse and Dry
Once you have scrubbed the interior of the oven, rinse off any remaining cleaner with a damp cloth or sponge. Make sure to remove all traces of the cleaner to avoid any potential chemical residue. Finally, use a clean, dry cloth to wipe down the interior and remove any excess moisture.
Step 7: Clean the Oven Window
Don't forget to clean the oven window as well. Mix equal parts vinegar and water in a spray bottle and spray the solution onto the window. Let it sit for a few minutes, then wipe it clean with a microfiber cloth or paper towel.
Conclusion:
Cleaning the inside of your oven doesn't have to be a daunting task. By following these simple steps and using the right cleaning products, you can keep your oven looking and smelling fresh. Remember to always read and follow the instructions on the cleaning products you use, and take necessary safety precautions. With a little bit of effort, your oven will be ready to tackle your next culinary masterpiece!


.png)


.png)

